How to Enable and Use Remote Desktop Connection Windows Server
Hey all, in this tutorial I will show you how to enable RDP on a server and connect to it.
WINDOWS
admin
3/3/20243 min read
Remote Desktop Connection or Remote Desktop Protocol (RDP) is used to remotely connect from one device to another. Typically, from and end-user machine to a server. In this guide I am going to be showing you how to enable RDP on your Windows Server as well as how to then connect to it from your host machine. You will need some form of access to both devices to enable this service.
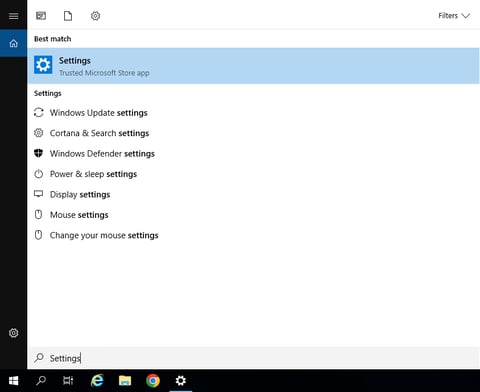
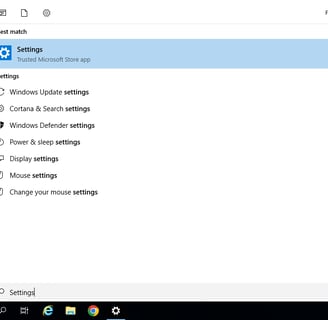
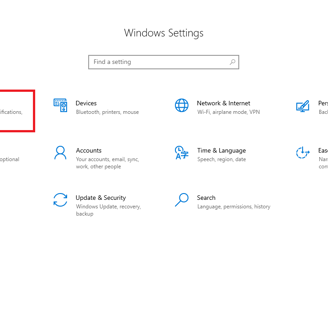
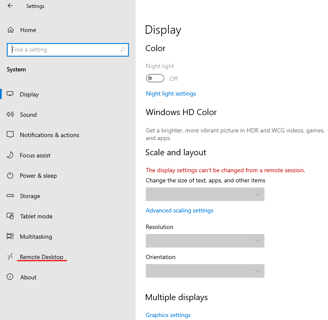
To begin, on the server or device that you wish to connect to, open “Settings” by searching for it in the bottom left-hand side of your screen and head to the “System” section:
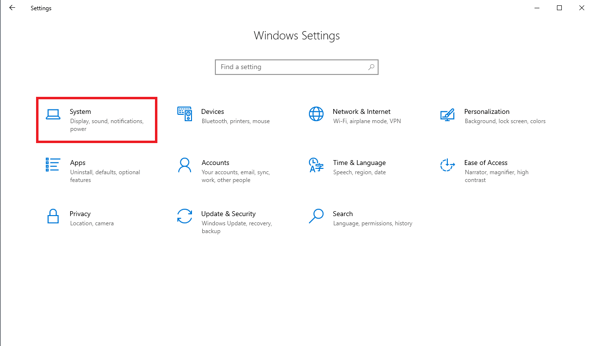
Once you have opened the System section of settings, look at the left-hand side of the screen and click “Remote Desktop”:

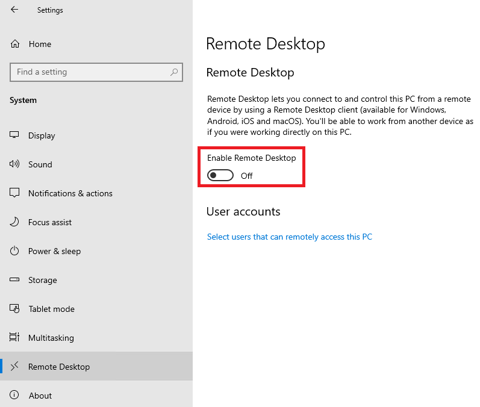
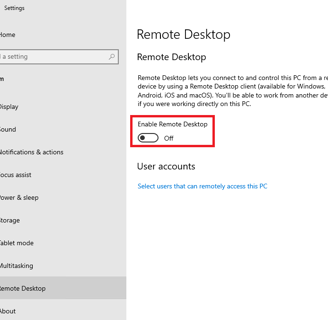
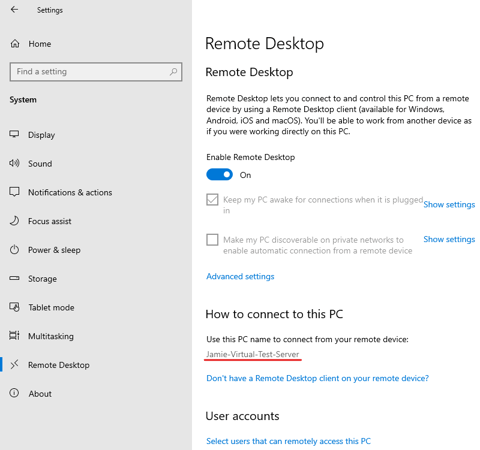
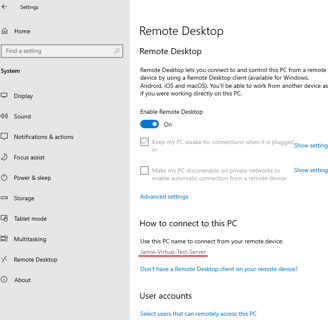
From this menu, switch “Enable Remote Desktop” from “Off” to “On”:
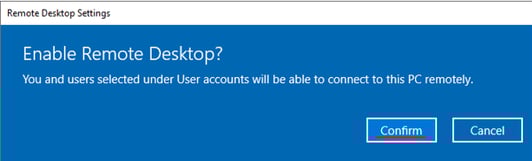
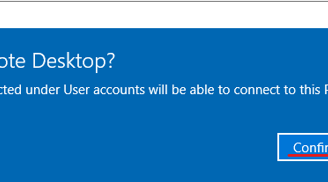
After clicking the button, a prompt will appear asking you if you are sure you want to enable remote desktop. Select “Confirm”:
After you have clicked confirm, the remote desktop protocol will have been enabled. The next step here is to get connected to the machine via your computer. Take note of value underneath “Use this PC name to connect from your remote device”. For me the name is “Jamie-Virtual-Test-Server”:
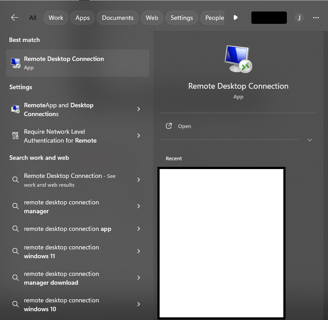
Next, head over to the device that you wish to connect from. For the sake of this tutorial, I will be using a Windows 11 device. To begin, search for “Remote Desktop Connection” in the Windows search bar and click it:
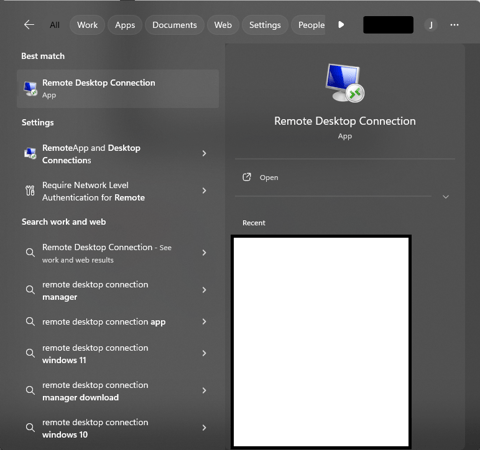
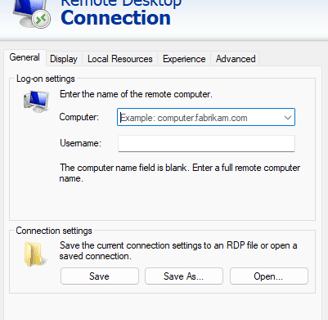
Once you have opened the app, you will be greeted with the following menu:

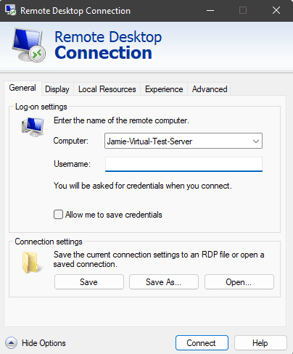
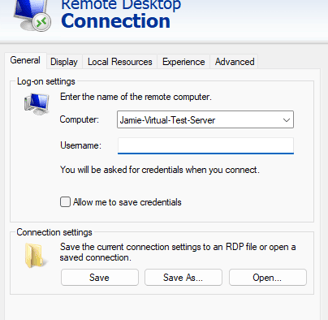
From here, in the “Computer:” section enter the hostname of the server (or device that you are trying to connect to, this is the PC name that you noted down earlier). For me the name is “Jamie-Virtual-Test-Server”. After you have entered this information, click “Connect”:
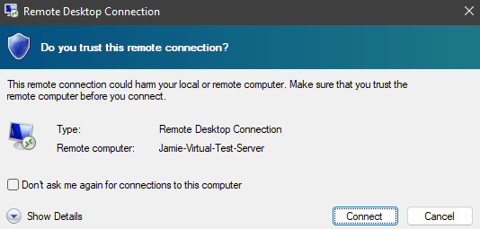
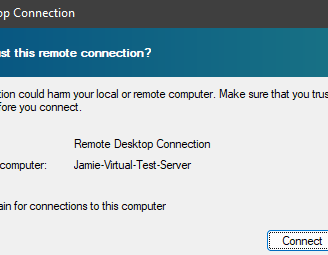
After clicking connect, you should get a prompt that asks you whether or not you trust the remote connection. Click “Connect”:
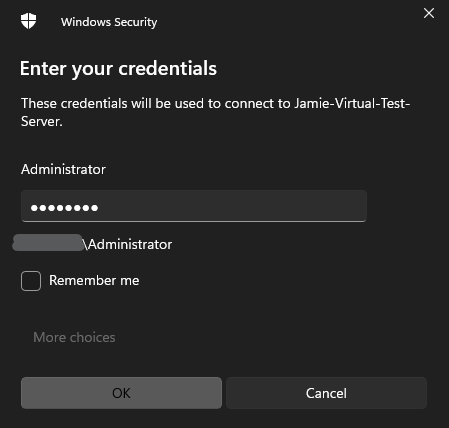
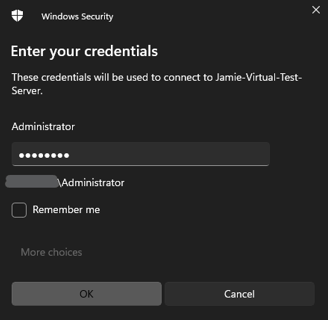
Next, you will be prompted to enter your credentials. Enter the username (if required) and password for the account you are trying to login as on the server (or machine you are trying to connect to) and click “OK”:
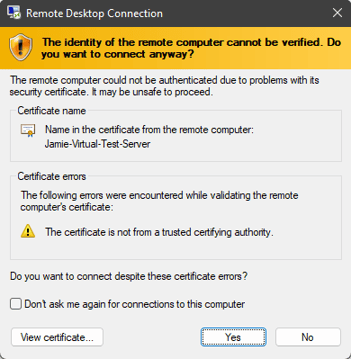
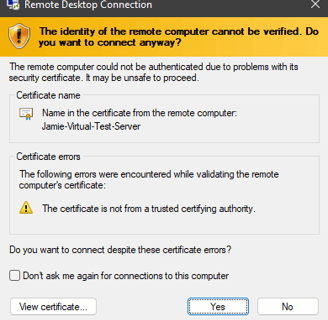
It is possible that you will get another warning, stating that the remote computer couldn’t be verified. This is safe to ignore and you can tick “Don’t ask me again for connections to this computer” to avoid the message in future. Click “Yes”:
After clicking “Yes” you will be connected! If you had any issues with this process or were unable to get connected, shoot me an email below and I’ll see what I can do to help you out:
Get in touch:
©2023