How to Enable Hyper-V in Windows 11
Hey everyone, in this blog I will show you how to enable and access Hyper-V in Windows 11
admin
1/30/2024
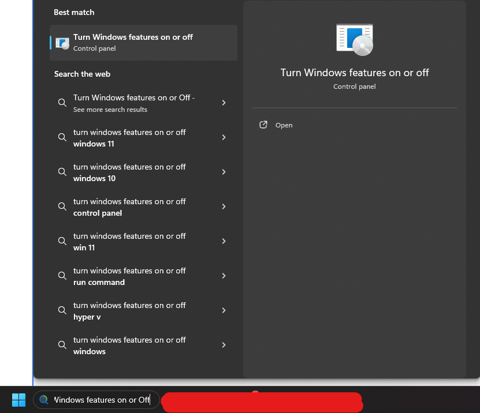
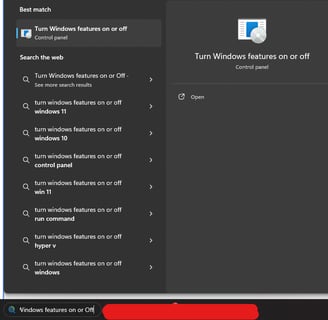
The first step in enabling Hyper-V is to navigate to the "Turn Windows features on or Off" menu (Be weary, this process will require a reboot of the machine). This can be done by searching for it in the Windows search bar, found in the bottom left hand-side of your screen:
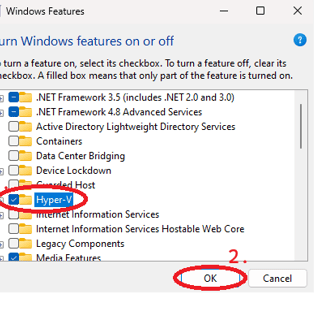
Once you have opened this menu, look for "Hyper-V", tick the box and select "OK":

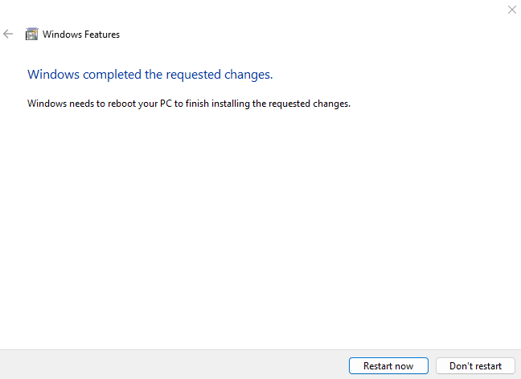
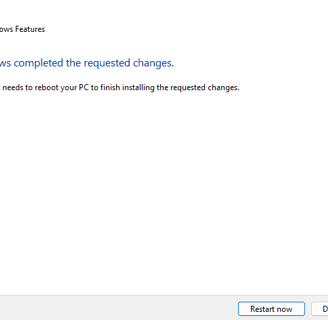
Assuming the process went smoothly, you will see the following (As mentioned before, you will require a reboot):
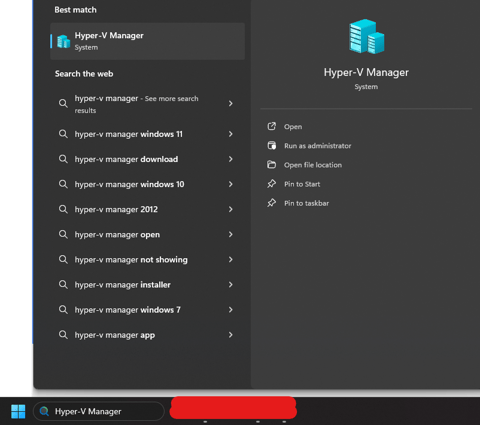
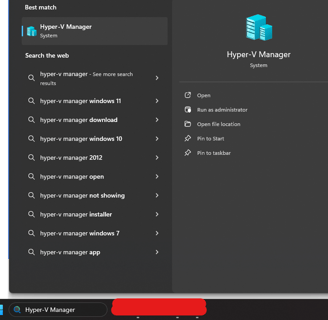
Upon rebooting, you should be able to find the Hyper-V Manager on your machine, as shown in the image below:
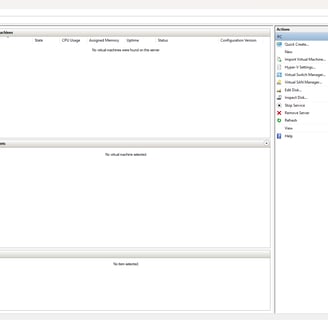
Opening this application should take you to a Window that looks similar to this:
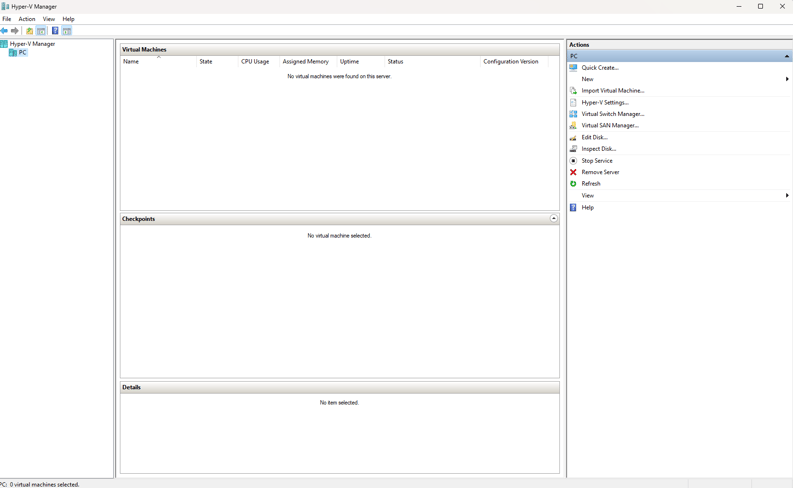
If you have reached this menu, then Hyper-V has successfully been installed on your machine. If this didn't work, you may have to tweak some BIOS settings. If you need a hand, drop me and email below:
Get in touch:
©2023