How to Create a Windows Server 2019 Virtual Machine in Hyper-V
Hello internet, this is an updated version of my guide on how to create a virtual windows server using Hyper-V.
admin
2/28/2024
In this tutorial I am going to be showing you how to create a Windows Server 2019 Virtual Machine within Hyper-V. To begin with this tutorial, you must have Hyper-V enabled in your host Windows instance (Check out my tutorial on how to do this here if you haven't already done this). You will also require a Windows Server 2019 ISO file.
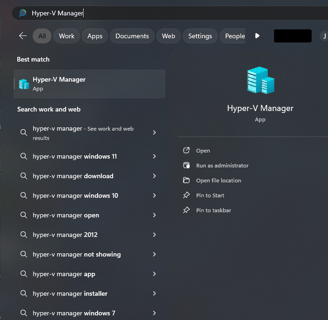
The first step is to open the Hyper-V manager, which can be found by searching for it in the bottom left-hand corner of your screen:

After you have opened the Hyper-V Manager, head to the “Action” tab at the top of the screen, hover over “New” and select “Virtual Machine…”:

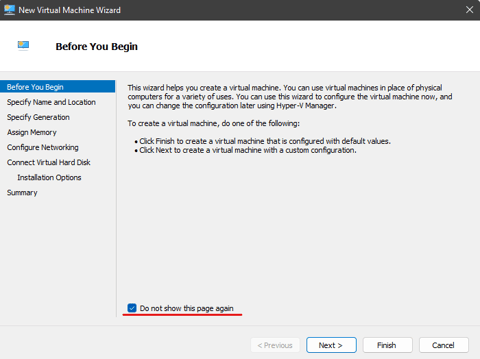
This will open the “New Virtual Machine Wizard”. This is where we will be allocating resources for the virtual machine as well as setting up some networking settings. Firstly, simply click Next to skip the before you begin screen, to enter the first part of configuration (Feel free to rick “Do not show this page again” as it doesn’t serve much purpose):

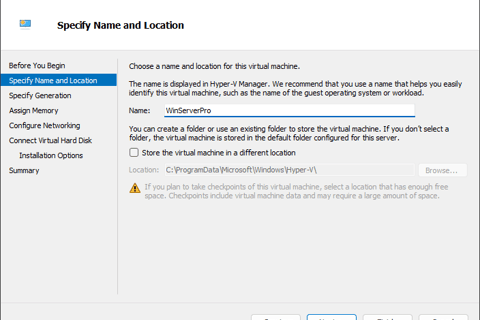
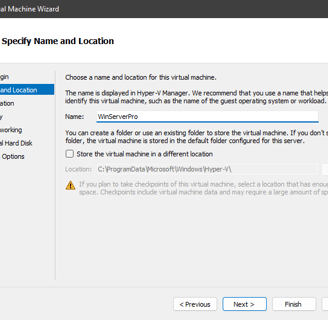
The next step is to assign a name to your virtual machine and optionally change the file location in which the virtual machine is going to be stored. For the sake of this tutorial, I am going to name the server “WinServerPro” and won’t be changing the default file location. After you have entered the relevant information, click “Next”:
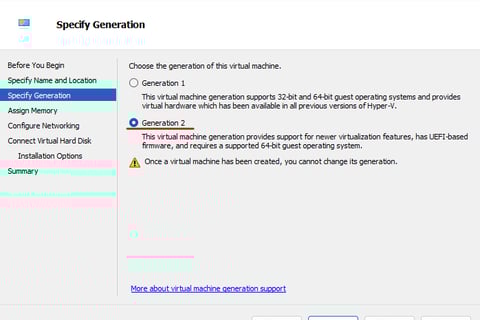
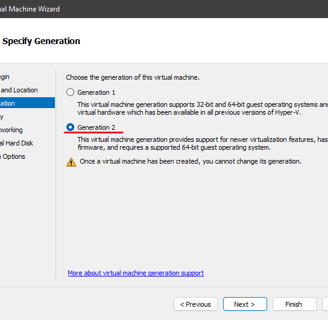
After entering the name of the VM, you will need to choose whether or not you want a generation 1 or generation 2 VM. The main difference between the two is that Gen2 uses UEFI-based firmware (Essentially modern BIOS settings) and Gen1 supports older operating systems. For Windows Servers (2016+), Generation 2 is typically the better option and for this reason, tick the generation 2 box and click “Next”: (Note: You cannot change the generation of the VM once it has been set).
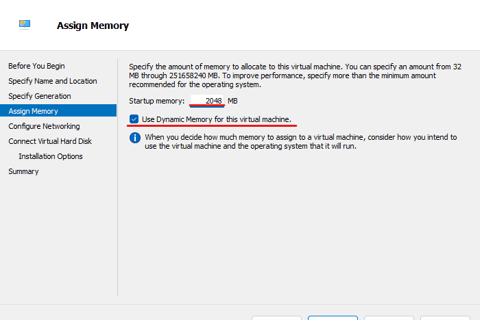
Once you have selected the generation of your virtual machine, it is time to decide how much RAM you wish to allocate to the machine. Microsoft recommends that you have at least 800MB of RAM for Windows Server 2019 machines, but depending on your setup you may want to allocate more. For this tutorial I am going to allocate 2GB of RAM which is 2048MB. The Dynamic Memory option allows Hyper-V to automatically manage RAM allocation based on the needs of the virtual machine, this should be ticked:

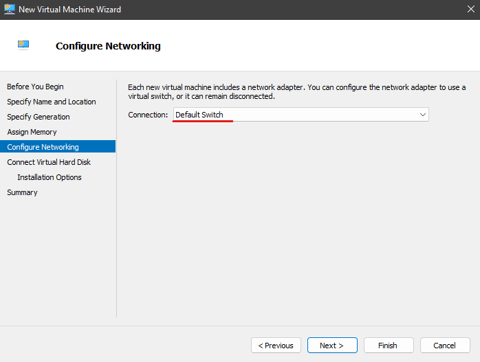
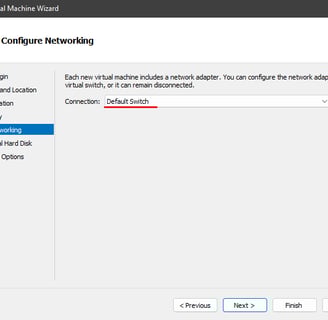
Next you will need to choose the network interface that is going to be used by the virtual machine. Assuming you want the VM to have an internet connection, select “Default Switch”, as this will just use the interface on your host machine:
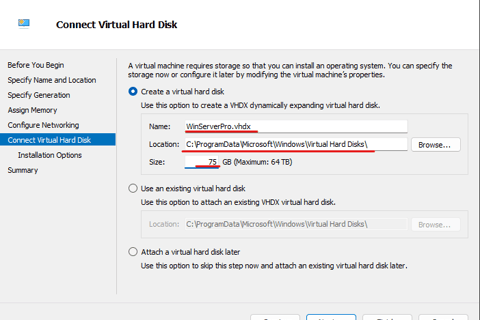
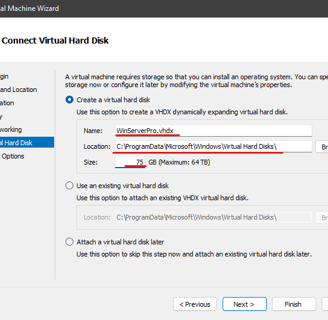
After you have configured the network settings, you will need to choose the size and location to store your virtual hard disk, this is essentially the storage volume for your virtual machine. In this tutorial we are going to create a new virtual hard disk. You simply need to name the hard disk and choose the size (in GB) for this guide I will be using 75GB and leaving the rest of the values as default:
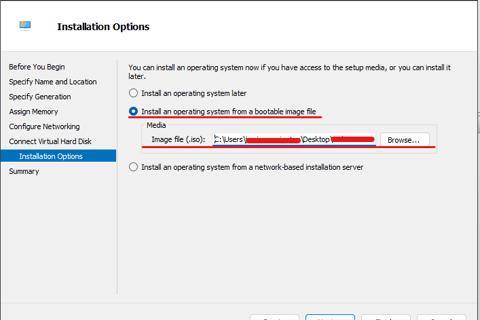
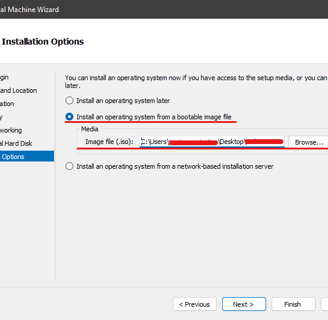
The final step to creating the virtual machine is to select the ISO file that you wish to install. In this case, it will be a Windows Server 2019 ISO file. Select “Install an operating system from a bootable image file”, click “Browse” and locate your ISO:
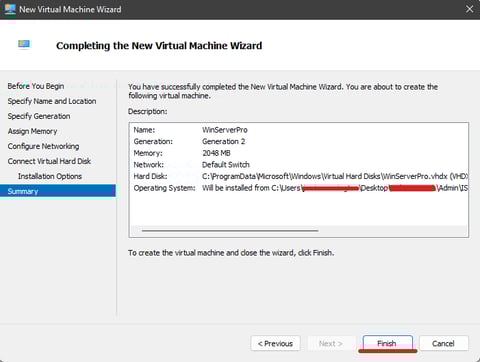
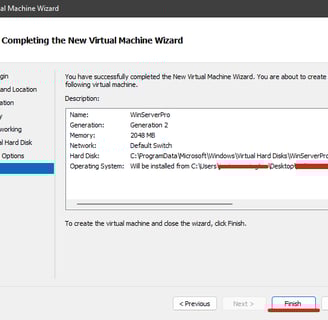
Click “Next” and then “Finish” and the virtual machine should be created:
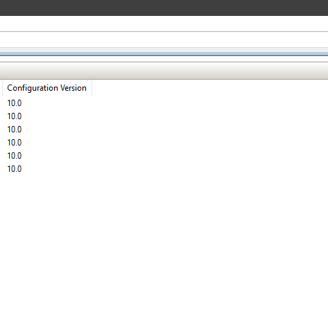
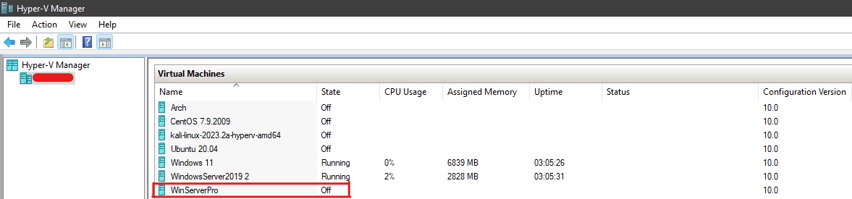
You should now be able to see VM in your list of virtual machines:

With this result, the process is now completed. If you need a hand with anything or something in the guide didn’t quite make sense to you, feel free to get in touch with me below:
Drop me an email:
©2023